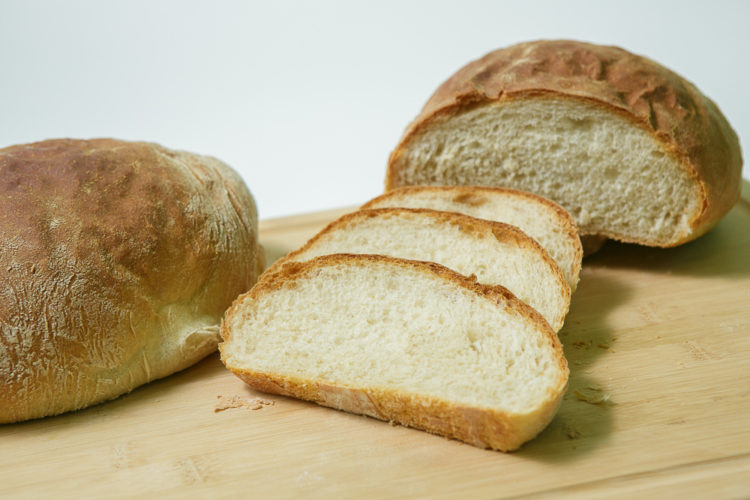
I really enjoy bread!! Dipping bread in olive oil and balsamic vinegar gives me so much joy. It makes an effortless simple snack. Toast with a good quality jam is a very satisfying breakfast.
This is a basic bread recipe, it has some density and a neutral flavor. It is good for toast, dipping, paninis or thinly sliced for sandwiches. This recipe is vegetarian, it is non-dairy. Dairy is present in several bread recipes and can be substituted in most recipes. Some bread recipes like this one, does not need any dairy or a substitute.   I like to make this bread free form or in a loaf pan.
This bread recipe is very easy and requires very little effort. If you do not use a stand mixer, it requires about 15 minutes of constant manual labor.
Scroll down to visually see the steps or Jump to the recipe.
I use a stand mixer for this recipe. Start by combining the dry ingredients in the stand mixer mixing bowl. Equip the dough hook to the stand mixer. Turn on the stand mixer on the lowest setting. The recipe calls for warm water, heat cool water in the microwave for 80 seconds. Slowly add the water to the dry ingredients until the flour is combined into a dough. Turn the mixer speed to the forth setting to kneed the dough.
Dough consistency
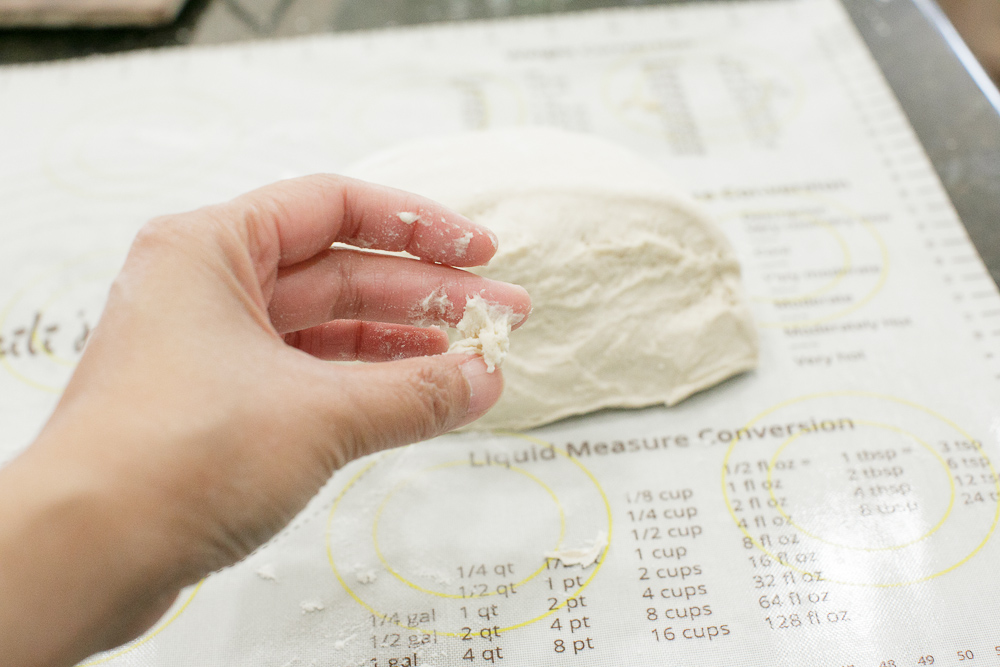
The dough consistency should like this
Rest the dough
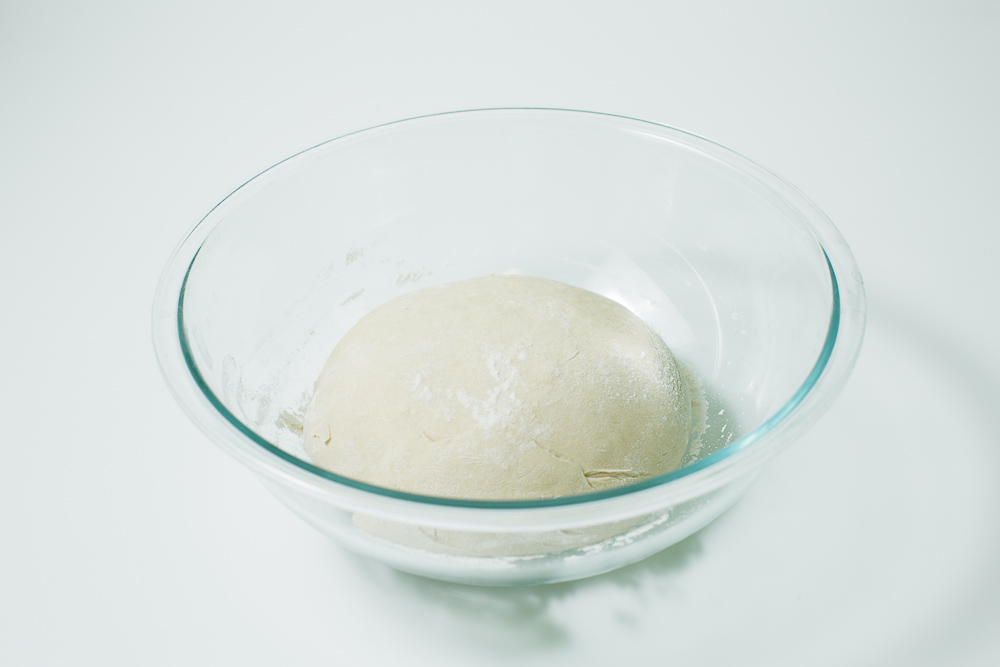
Dust a large bowl with flour and place the dough in the bowl. Cover with a tea towel or plastic wrap, loose not tight. The dough needs room to expand. Let the dough raise for 45 minutes.
Raised Dough
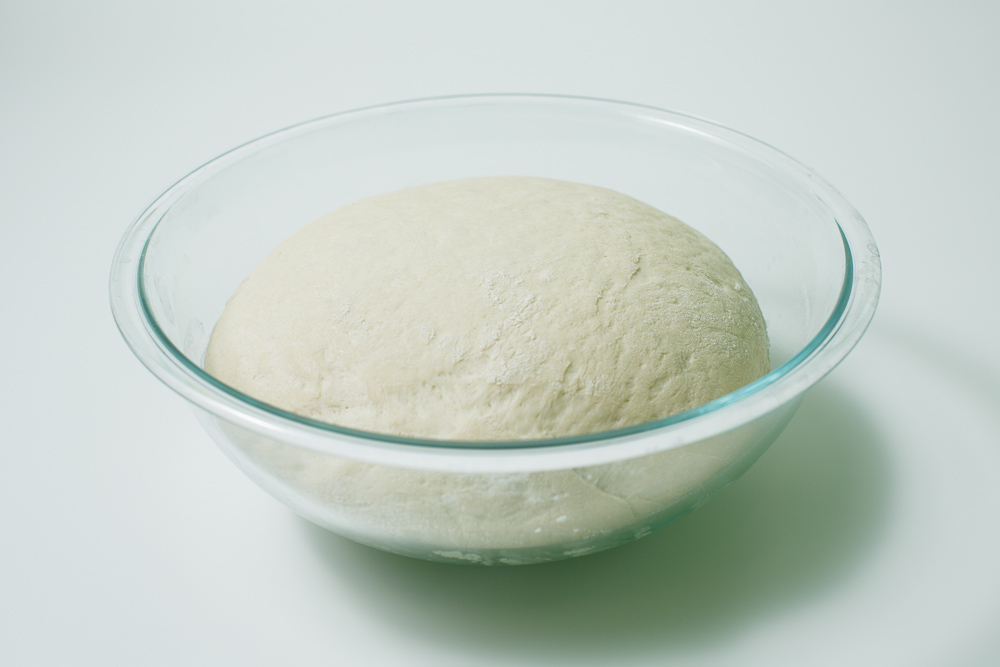
The dough will double in size.
Prepare the baking sheet
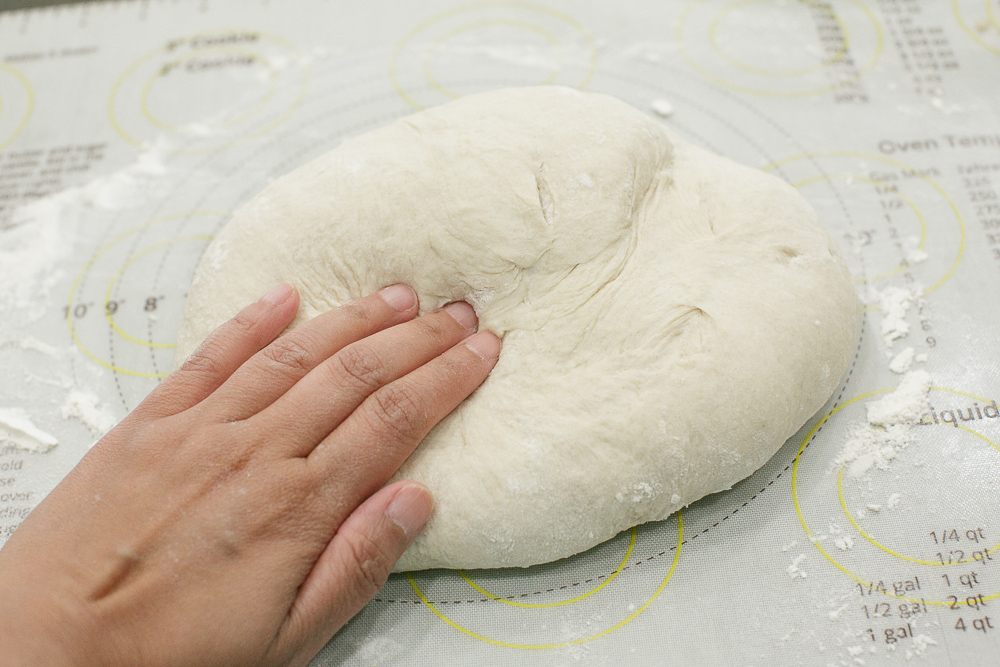
Dust your baking stone or sheet with flour. Place the dough on the baking stone or sheet.
Cut the dough in half
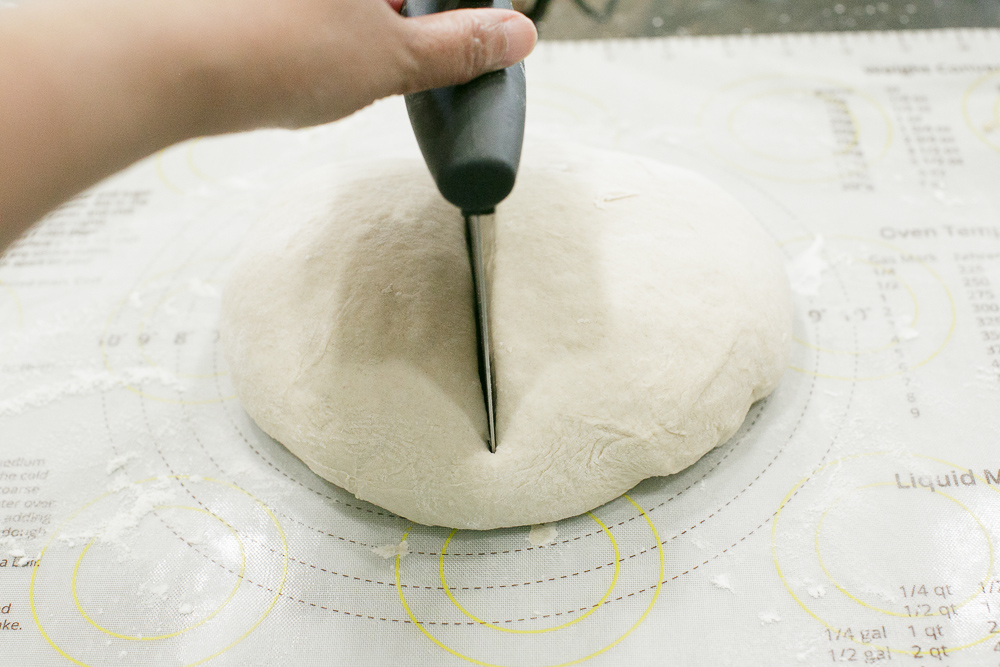
Cut the dough in half. This will make two loaves of bread and allow it to cook evenly.
Shape the dough
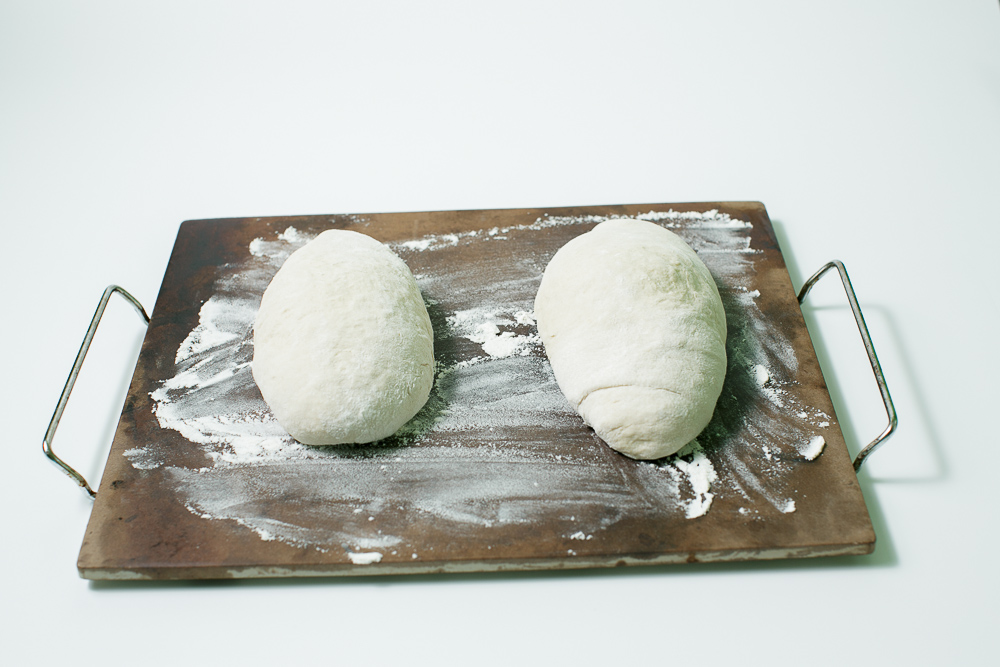
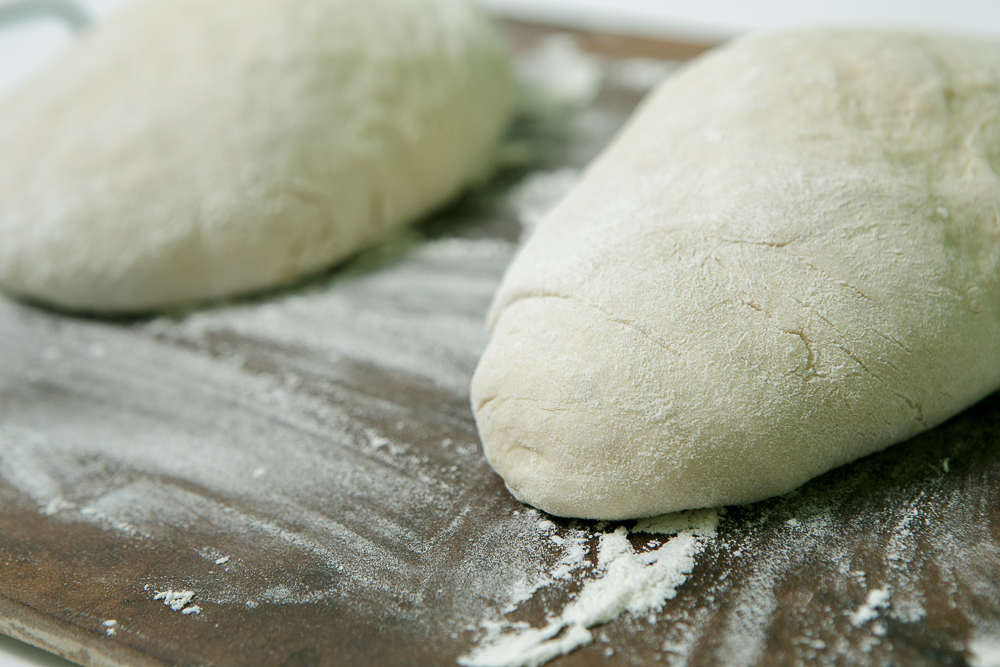
Let the dough rest on the backing stone or sheet. Evenly space the two pieces of dough, allowing even cooking. The dough will rise again. It is important to do this on the baking vessel, it will stop the prevent dough deflation. 7nbsp; Cover with a tea towel or plastic wrap, loose not tight.
Raised dough loaves
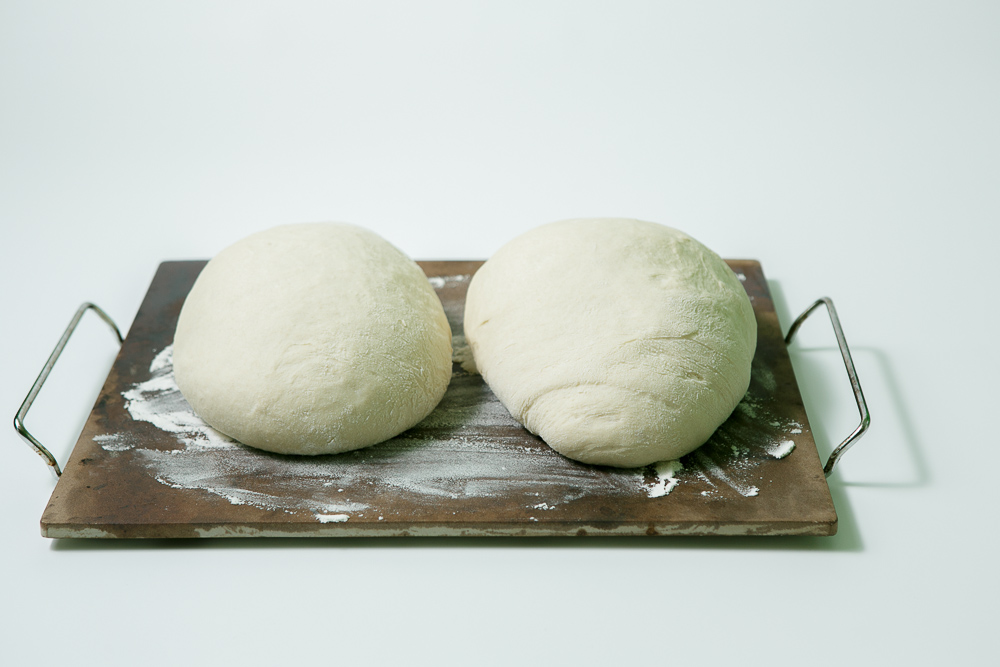
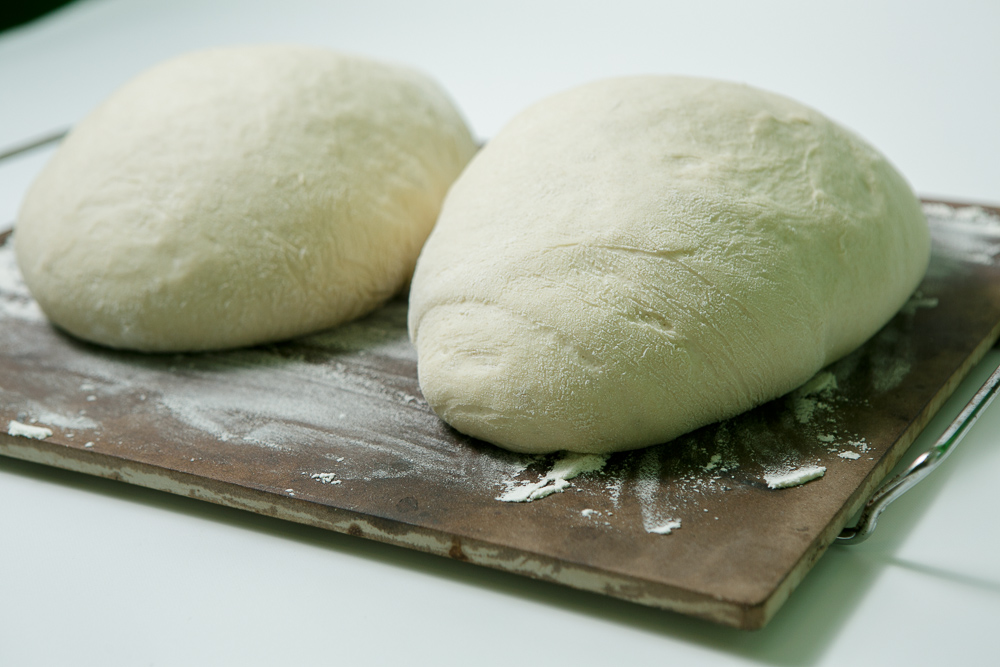
The bread has raised again.   Be carefully moving it and set it down gently to avoid dough deflation.
Preheat the oven to 375 F degrees. Gently place the baking stone or sheet into the oven. Bake for 38 minutes.
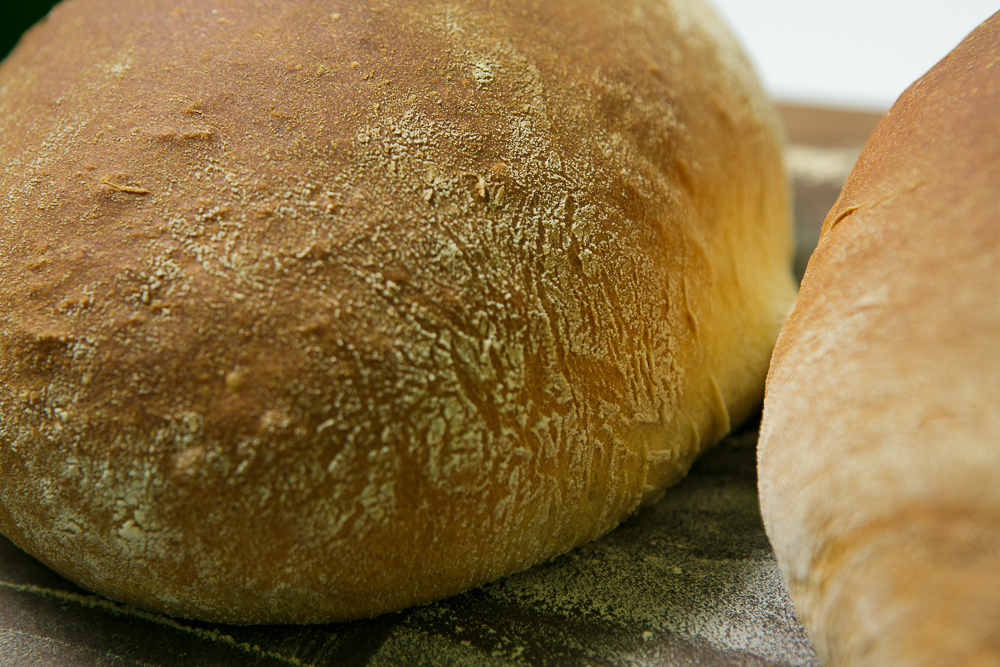
Fresh Baked Bread
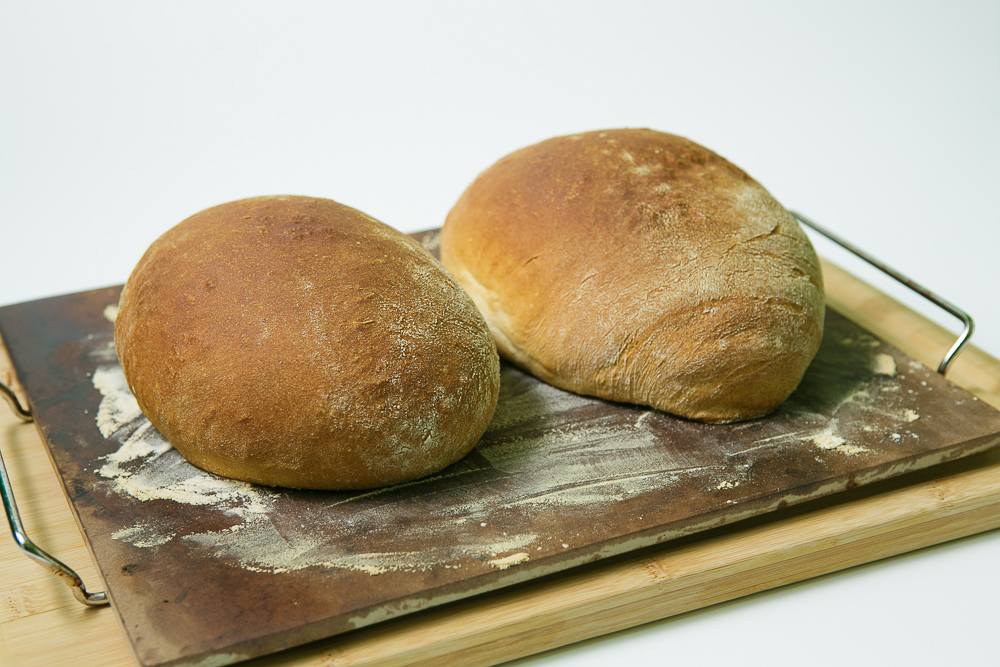
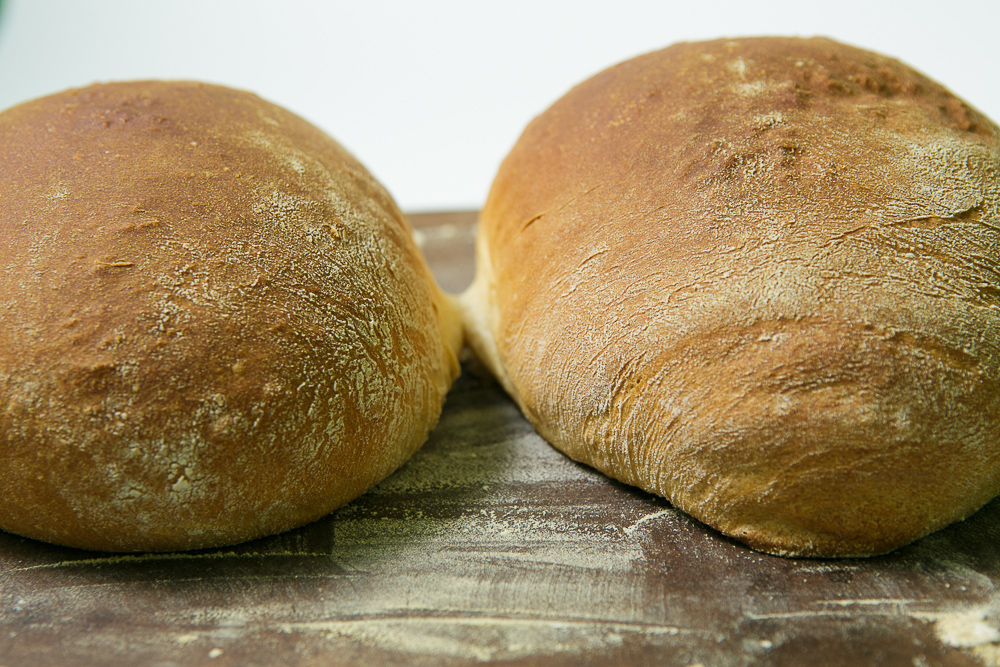
Remove the baking stone or sheet from the oven. Let the bread cool for at least 10 minutes.
Slice the bread
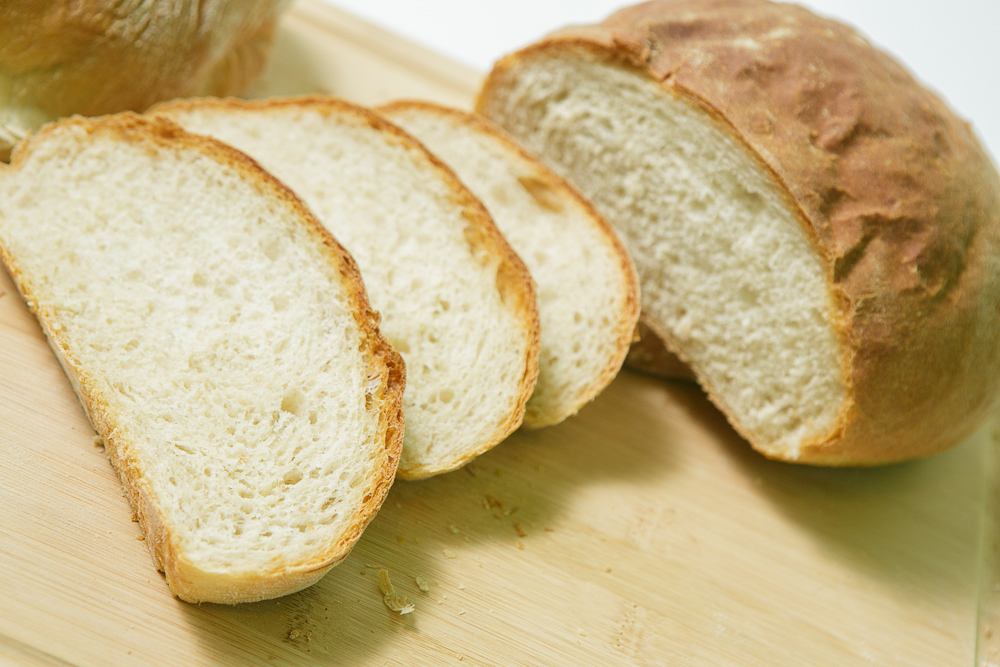
For best results, slice the bread on a cutting board. It will provide a stable surface.
Mmm… Bread
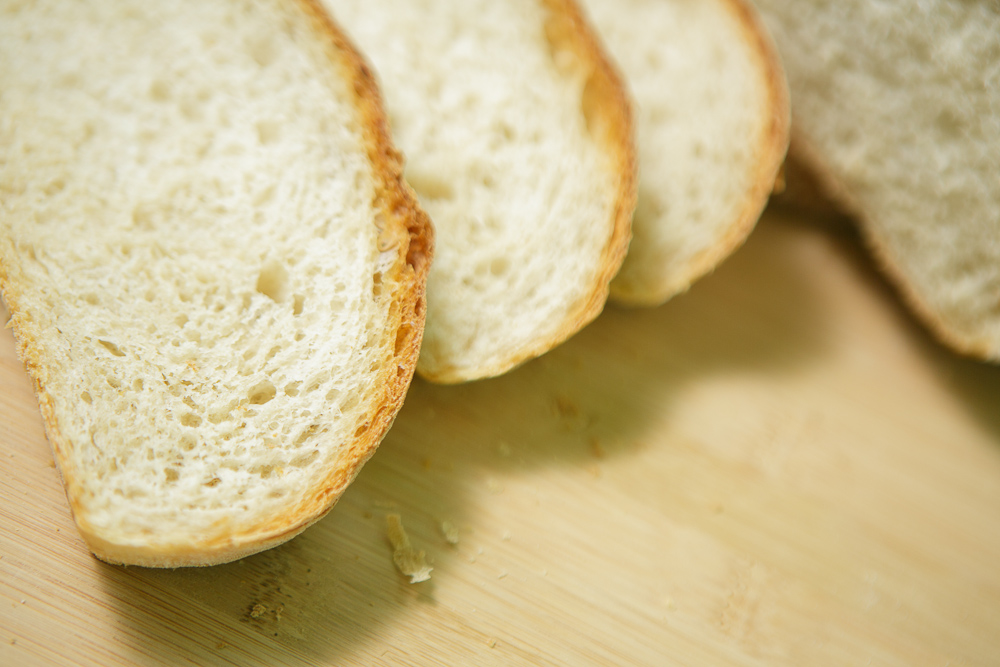
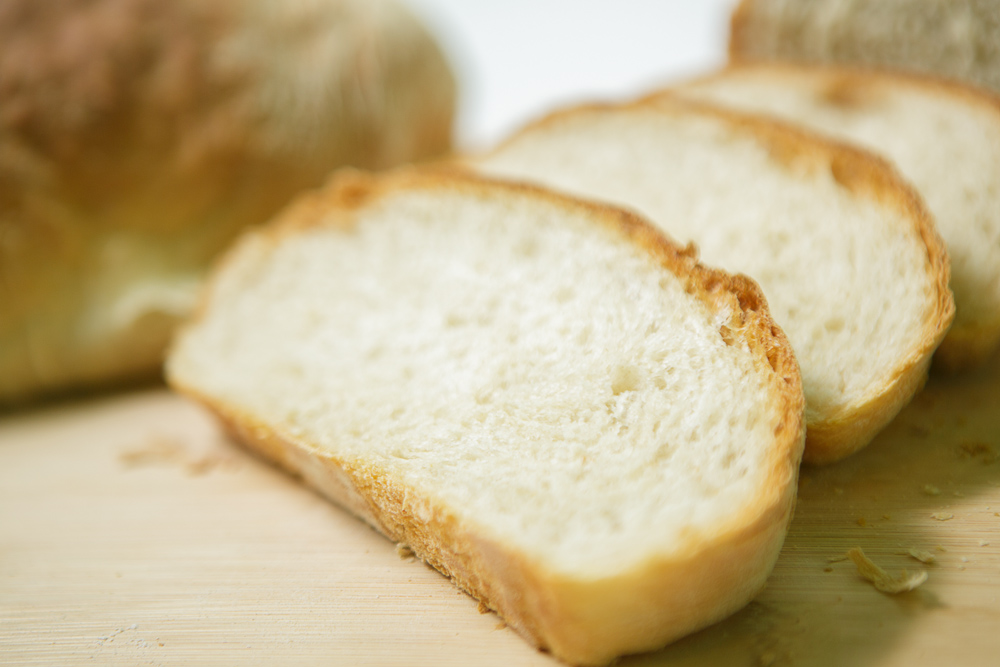
What are you waiting for?? Let’s make bread!!
Bread
Tools needed
- Stand Mixer
- Liquid Measuring Cup
- Measuring Cups
- Measuring Spoons
- Baking Stone or Baking Sheet
Ingredients
- 3 cups All Purpose Flour
- 2 1/2 cups Whole Wheat Flour
- 3 tsp Salt
- 5 tsp Sugar
- 2 1/4 tsp Dry Yeast
- 2 Cups Hot Water (120 F – Microwave on high for 80 seconds)
- 2 tbsp Olive Oil
Prepare the dough
- Combine the dry ingredients in the stand mixer bowl.
- Equip the dough hook to the Stand Mixer.
- Heat the water in the microwave for 80 seconds.
- Turn on Stand Mixer to lowest setting.
- Slowly add the water to incorporate into the dry ingredients. If the speed is too fast, flour will be thrown in the air.
- Increase the speed to the forth setting for 10 minutes to kneed the dough.
Raise the dough
- Dust the inside of a large bowl with flour.
- Add the dough to the large bowl.
- Cover with a tea towel or plastic wrap, loose not tight.
- Let the dough rise for 45 minutes.
- Dust your baking stone or sheet with flour.
- Place the dough on the baking stone or sheet.
- Cut the dough in half.
- Shape the dough into desired shape.
- Evenly space the two pieces of dough, allowing even cooking.
- Cover with a tea towel or plastic wrap, loose not tight.
- Let the dough rise for 45 minutes.
Bake
- Preheat of to 375 F.
- Bake for 38 minutes.
After Baking
- Remove the baking stone or sheet from the oven.
- Let the Bread rest for 10 minutes.
Tips
- Cut the Bread on a cutting board, it will increase the quality of the slices.
- Allow the bread to cool enough to cut without burning yourself.
- Store in an air tight container after the bread completely cools to room temperature.
